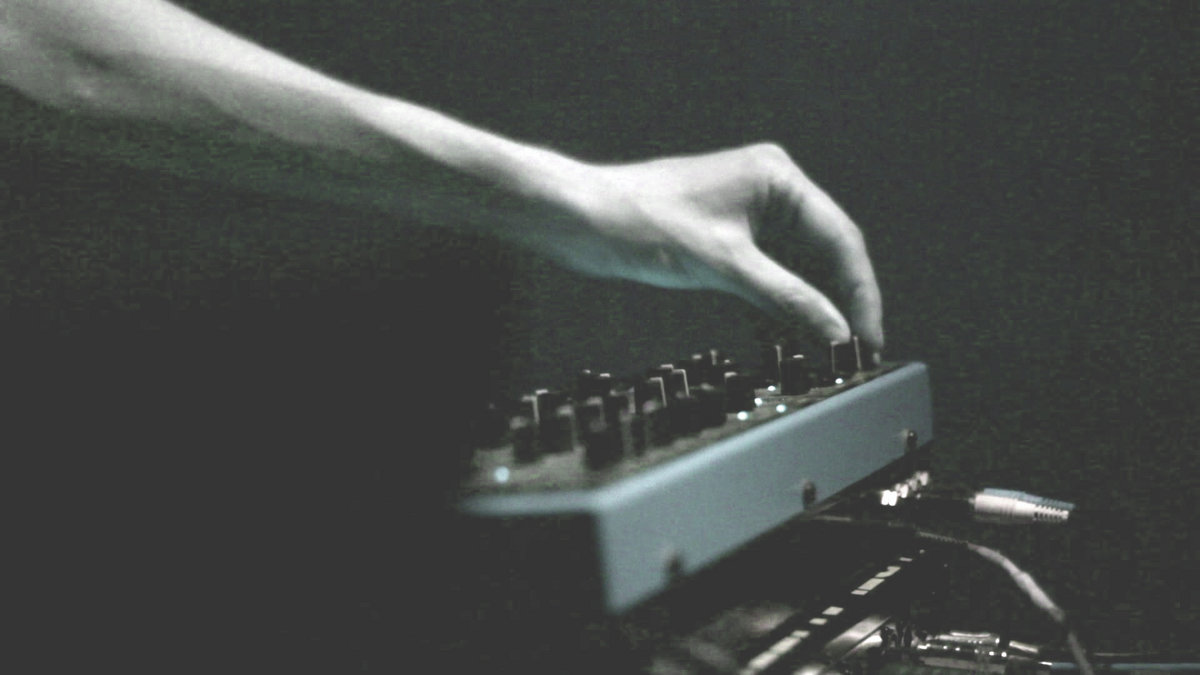
Effective percussion layering is a fundamental skill in music production, as it is essential for creating depth, dynamic movement, energy, and ensuring the track “breathes”. Whether you are writing Pop-Rock, Hip Hop, or Afro House, proper layering helps the elements of the drum section interact without clashing.
1. Fundamentals of Sound Selection and Layering Strategy
The success of layering begins even before mixing—at the stage of selecting samples and instruments.
A. Genre Appropriateness and Timbral Distinction
- Adhere to the Genre: Make sure you are using drum parts in your tracks that are congruent with the style you are writing in. For example, Pop-Rock usually requires some kind of live element in the drums, while R&B or Hip Hop would most likely use electronic drums. Avoid replacing a nice live loop with a stiff programmed drum line in genres where a live feel is desired.
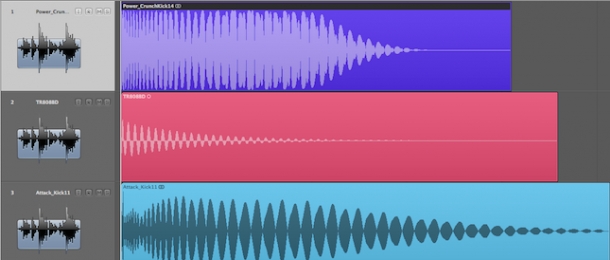
- Choose Different Timbres: To prevent percussion elements from “treading on each other’s toes” (clashing), choose sounds that have different timbres. For instance, combine a woody rim sound, the distinctive sound of claps, and the sound of the main drum kit, which represent three different timbres.
- Build Thickness: To achieve a thicker and richer sound and better projection in the mix, combine different samples of similar sounds. For example, you can combine two different clap tracks: one brighter with a bit of reverb, and another dry one with a “thump”.
B. Rhythmic Construction and Accentuation
Layering not only adds thickness but also creates more complex rhythmic patterns, often characteristic of genres like Afro House.
- Establish the Foundation: Lay down your core percussion groove, such as congas or djembes.
- Add Texture and Movement: Incorporate additional layers—shakers, claps, or tambourines—to enhance texture and movement.
- Rhythmic Alignment: Align complementary sounds on off-beats or syncopations to avoid rhythmic clashes.
- Accentuate the Groove: Adding separate tracks with an extra kick drum or hi-hat can help accentuate the corresponding elements of the main groove, adding thickness and fullness.
- “Call and Response” Effect: Interweaving different percussive sounds allows you to create a dialogue within the rhythm section.
- Avoid Busyness: Try not to have any single part too busy, as the subtle interaction of simple parts helps create space within the sound of the drum and percussion lines as a whole.
2. Mixing Techniques and Ensuring Clarity
To prevent mix overcrowding, careful processing and spatial separation strategies must be applied.
A. Frequency and Dynamic Separation
- Equalization (EQ) for Carving Space: Preventing frequency masking (when sounds occupy the same frequency range) is crucial.
- Use EQ to carve out frequency space for each instrument.
- Apply High-pass filters (HPF) around 100–150 Hz on non-bass percussion layers to clean up low-end rumble.
- Cut unnecessary lows in shakers or high-mids in bass-heavy percussion to eliminate muddiness.
- Compression for Dynamic Control: Compression helps smooth the dynamic range and maintain the consistency of percussion.
- Multiband Compression: Allows you to selectively control frequencies for a balanced response, targeting problematic ranges without affecting the entire section.
- Parallel Compression: Blend compressed percussion layers with dry signals to boost presence without crushing dynamics.
- Sidechain Compression: Gently “duck” certain layers triggered by the kick drum to preserve the groove drive.
- Use gentle attack and release settings to maintain the transient impact.
- Tools: The FabFilter collection is cited as offering powerful tools for advanced mixing and mastering.
B. Spatial and Phase Tools
- Panning: Use panning to separate elements and prevent mix overcrowding. Panning similar sounds slightly (one slightly right, one slightly left) can create the impression of a thicker sound, unlike a wide pan which makes them sound like they are coming from two different speakers.
- Phase Alignment: This is crucial, as layering percussion elements can cause phase cancellation, which reduces impact and clarity. Use phase alignment tools to fix this.
3. Creative Processing and Effects
Adding creative effects can transform basic percussion stacks into vibrant and textured elements.
- Reverb: Use short, subtle reverb to add space without washing out clarity.
- Delay: Synchronize delays (e.g., dotted or triplets) to the tempo to create rhythmic interest.
- Saturation: Add warmth and harmonic richness using analog-style saturation plugins.
- Modulation Effects: Light chorus or phaser can inject movement and depth.
4. Common Mistakes to Avoid
To maintain professional-sounding percussion, the following pitfalls should be avoided:
- Frequency Masking: Choosing sounds that occupy the same frequency range leads to a muddy mix.
- Phase Cancellation: Layering elements without phase alignment can weaken their impact.
- Over-processing: Excessive effects and compression can rob percussion of its natural dynamics and character.
- Ignoring Rhythmic Balance: Too many layers playing simultaneously can clutter the groove.
For more advanced sound design ideas, explore granular synthesis here: Granular Synthesis: Principles, History, and Applications.
Rate this post along with 0 others